A picture is worth a thousand words. However, a million pictures can’t compensate the lack of a concept. So if you want to tell amazing travel stories through photography, you need to have that concept. You can have a list of useful tips for a photography trip, but you also need to improve your technique and help others see the natural beauty that lies in your eyes.
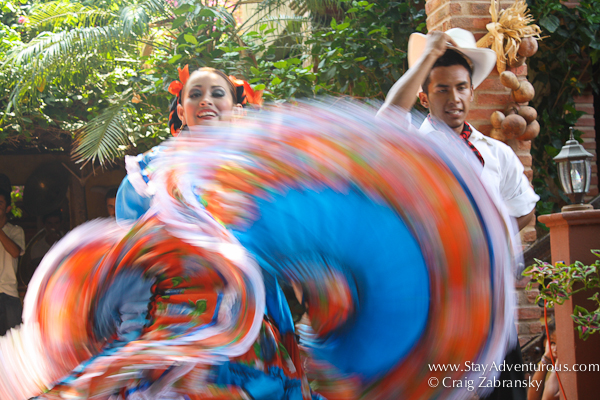
Don’t Neglect the Candids
Directed photographs may be great, but they’re not real memories. If you’re traveling with many other people, it’s worth taking pictures with them when they don’t know you’re doing that. Even if the light isn’t all that great, you can use the fill-flash for when it’s too bright out.
For better results, you can use the raw mode. This enables you to process the image however you want, for how many times you need. And this shooting style means having a lot of data on the negative.
You can also use a telephoto lens for portraits, and sneak up on them so they have a natural size in the frame. And that’s why we advise you to get the best helmet cam, which is particularly helpful for capturing people on the move. It’s also great if you want to capture the landscape while moving or to document your adventures on the go.
Patterns in Composition
You know how you’re looking up at the moon and you see a face? Well, that’s what our brains are designed to do, discover patterns everywhere. Patterns are constructed by familiar shapes, certain symmetries, and contrasting colors.
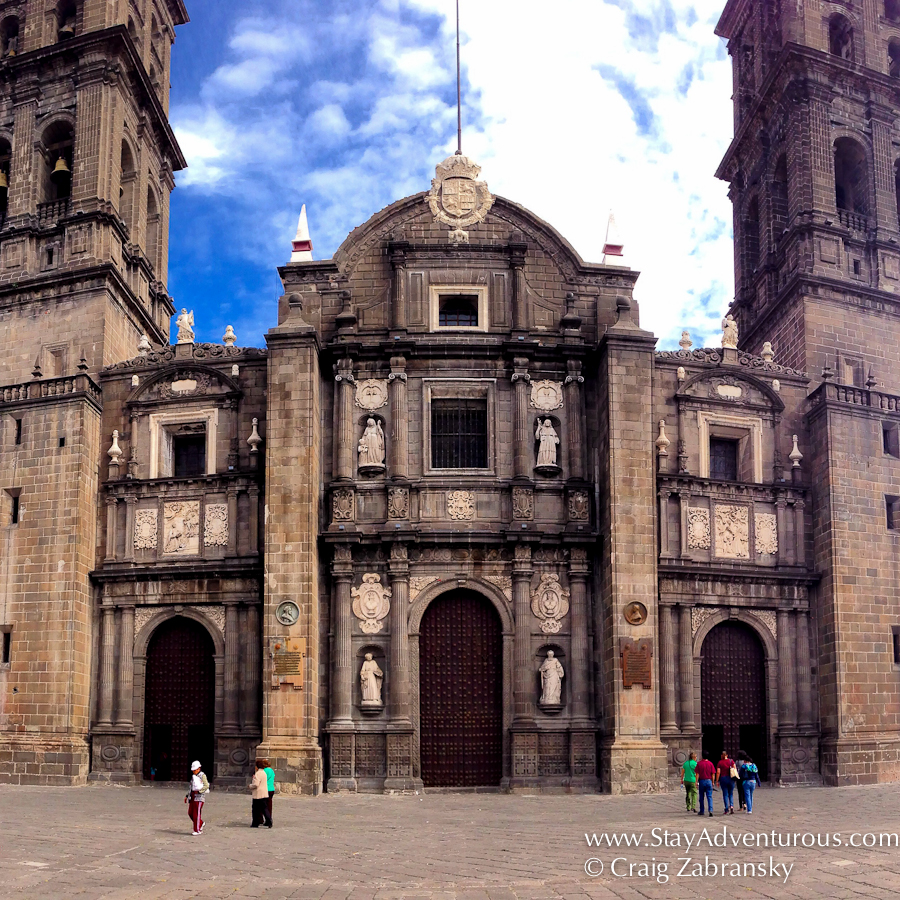
the main Cathedral of Puebla, sometimes everything may not fit in the photo
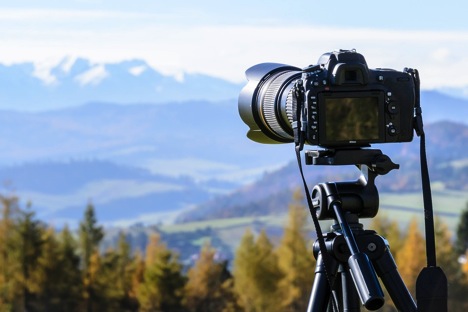
When it comes to composition, your images should benefit from how people find patterns. So make sure you’re holding your camera still, maybe even using a tripod.
Next, it’s wise to apply the rule of thirds, by splitting the image into three parts of equal size. Each of these sides needs to have one element that stands out, so there’s balance in your photograph.
But when you’re introducing people, animals or other subjects in the picture, these need to be placed at the intersection between these sides.
Taking pictures of landscapes offers the temptation of splitting the photo into two parts, which doesn’t look professional. So if you’re taking a photo of a forest, for instance, make sure the trees are at the third part, near the bottom. The sky is located at the top part, comprising two-thirds of the photo.
If you have an eagle in the picture, place in towards one side, at the intersection of the vertical or horizontal lines. The moon or any other prominent subject should be placed at the intersection of other lines.
Use Leading Lines
Make sure you’re using a leading line to draw the attention of whoever is looking at your photograph towards a desired spot in the photo. The subject is better emphasized if you’re taking advantage of natural lines that appear in the environment or prominent features.
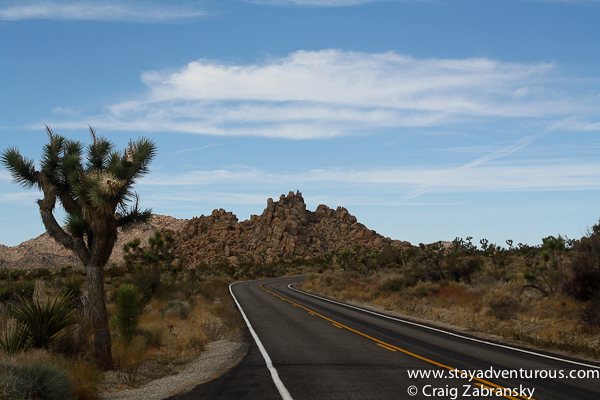
follow your path
So if you want to photograph a tall, snowy peak, make sure this is placed at the end of a road or a stream of water. If you want to take a photographs of the Northern Lights or that of a bright star, you can place it at the end of a cluster of less shiny stars. Or you can take advantage a dark lane made out of interstellar clouds. Of course, you might need a special night cam for astrophotography, but you can find more about that on Optic Gear Lab.
Narrow vs. Large Aperture
When you’re taking pictures of landscapes, you need to have an accurate depth of field. That’s what makes the scene bright from the front to the back. This is what the Aperture Priority mode is for, basically narrowing the picture. The use of a narrow aperture requires a tripod, so your hands don’t shake.
And when you’re photographing portraits, you need to use a large aperture. That, combined with a selective focus blurs the background, so the person you’re photographing stays in front.
Give the Tri-Dimensional Look
This can be done by using a right sense of scale, and by obtaining a very good contrast between the foreground, midground, and background. That means you need to obtain an accurate depth perception.
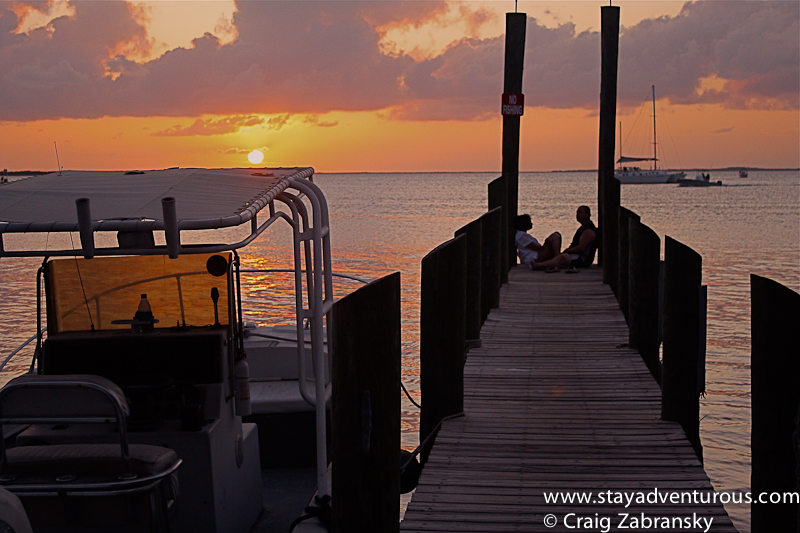
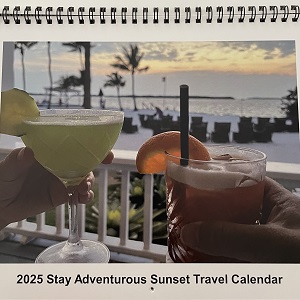
enjoying a sunset in key largo
This can be done by placing one significant element in all three parts of the photograph. The foreground is more to the front, and this is likely where your subject will be, say a person or a wildflower. In the midground, the middle part of the photo, you can place an interesting tree or building. Then, in the background, you can have the horizon, a cloud or a bird.
All these elements help you draw the viewer’s eye towards the most important elements, thus constructing the desired scale and balancing out the photo. So you need to put enough focus on the small details that are in front, to emphasize a bigger element that might be set in the midground or background.
Frame your photo
The subject you want to stand out needs to be framed by other elements, like vegetation. The frame is generally bigger than the subject, providing balance and symmetry to the photo.
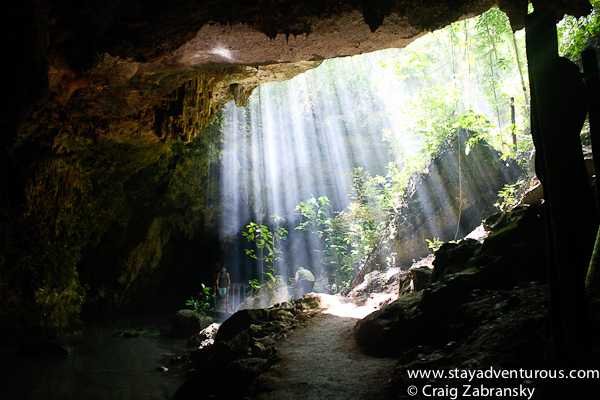
So, if you’re trying to photograph a squirrel that’s eating something on a rock, make sure you’re also capturing a few trees on its left and right. You can also frame it vertically, by using the branches above, and the earth beneath as natural frames.
Color
Make sure you have the right colors, that help create the desired contrast. That means looking at a color wheel and choosing complementing colors. These will also add to the balance of a certain photo.
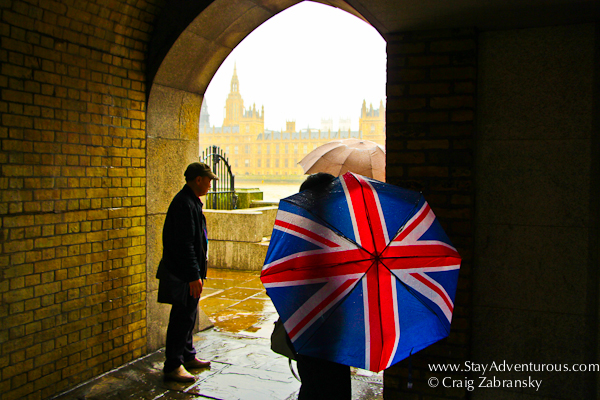
The Flag Still Reigns (Rains) in London
So if you have a natural, predominant color in the photo, balance it out with some contrast. For instance, a lush green forest in the background helps a red flower stand out in the foreground.
The ultimate advice
But the most important tip to take amazing pictures is to tell a story. It’s the story of your travel, and it should be obvious in every photo you capture. The context is as important as the final image, which is why you should use raw emotion, not just technical skills.
-Rebecca